How to make a website- An Overview
The planning process of making a website as taught by Western Technical College.
Welcome to my website and blog! If you are reading this, that means my website and blog post are up and running for the world to see. But how did we get here? Hopefully by the end of this post that question will be answered, and you might also know how to start the process of creating your own website.
The beginning-
I am currently enrolled at Western Technical College’s Digital Marketing program. A large part of the curriculum here is creating a website (likely a portfolio website) and posting content on it. There are, however, a lot of steps that go into making a website, getting it up and running, and posting on it. Since most digital marketers are not programmers, we will be using a content management system (CMS) to create our websites. This means I don’t have a lot to share on the technical aspects of creating a website.
I do, however, have a lot to share about the design aspect of creating a website. In my first semester, I took a class called Digital Design Components where we were introduced to the process of making a website and some of the key design elements that go into making one. We covered several topics, but the main four we focused on were:
- Website Checklist
- Web Schematics
- Mood Boards
- Wireframes
The Main Four Planning Elements
1. Website Checklist: What is it, and how does it help?
The website checklist was the first step in our planing process. We were given a document with a lot of questions for us to fill in regarding the target audience, the purpose of the website, website features, colors, fonts, and more. This helped turn my scattered ideas into a more organized and actionable plan. Before filling out this checklist, my ideas were spread across various documents, or simply floating around in my head, which isn’t great for content creation!
While I might not have written down every single feature I wanted on my website, having this checklist made the next steps of creating a website much easier. If you are planning on starting your own website, I highly recommend checking out resources like this article by MDC Designs before going too far into the design process.
2. Web Schematic: What’s a site map?
Next, we covered web schematics- also known as site maps. You may be wondering, “What is a web schematic?” In simple terms, it’s a visual map of your website that shows the structure and organization of your pages. This ensures that all the pages are connected and accessible. While using a CMS like WordPress can help maintain a connected structure automatically, a web schematic is especially important when building a site from scratch.
For example, you don’t want a “Contact” page to be hidden somewhere without easy access. The site map helps ensure your pages are logically connected and easy to navigate.
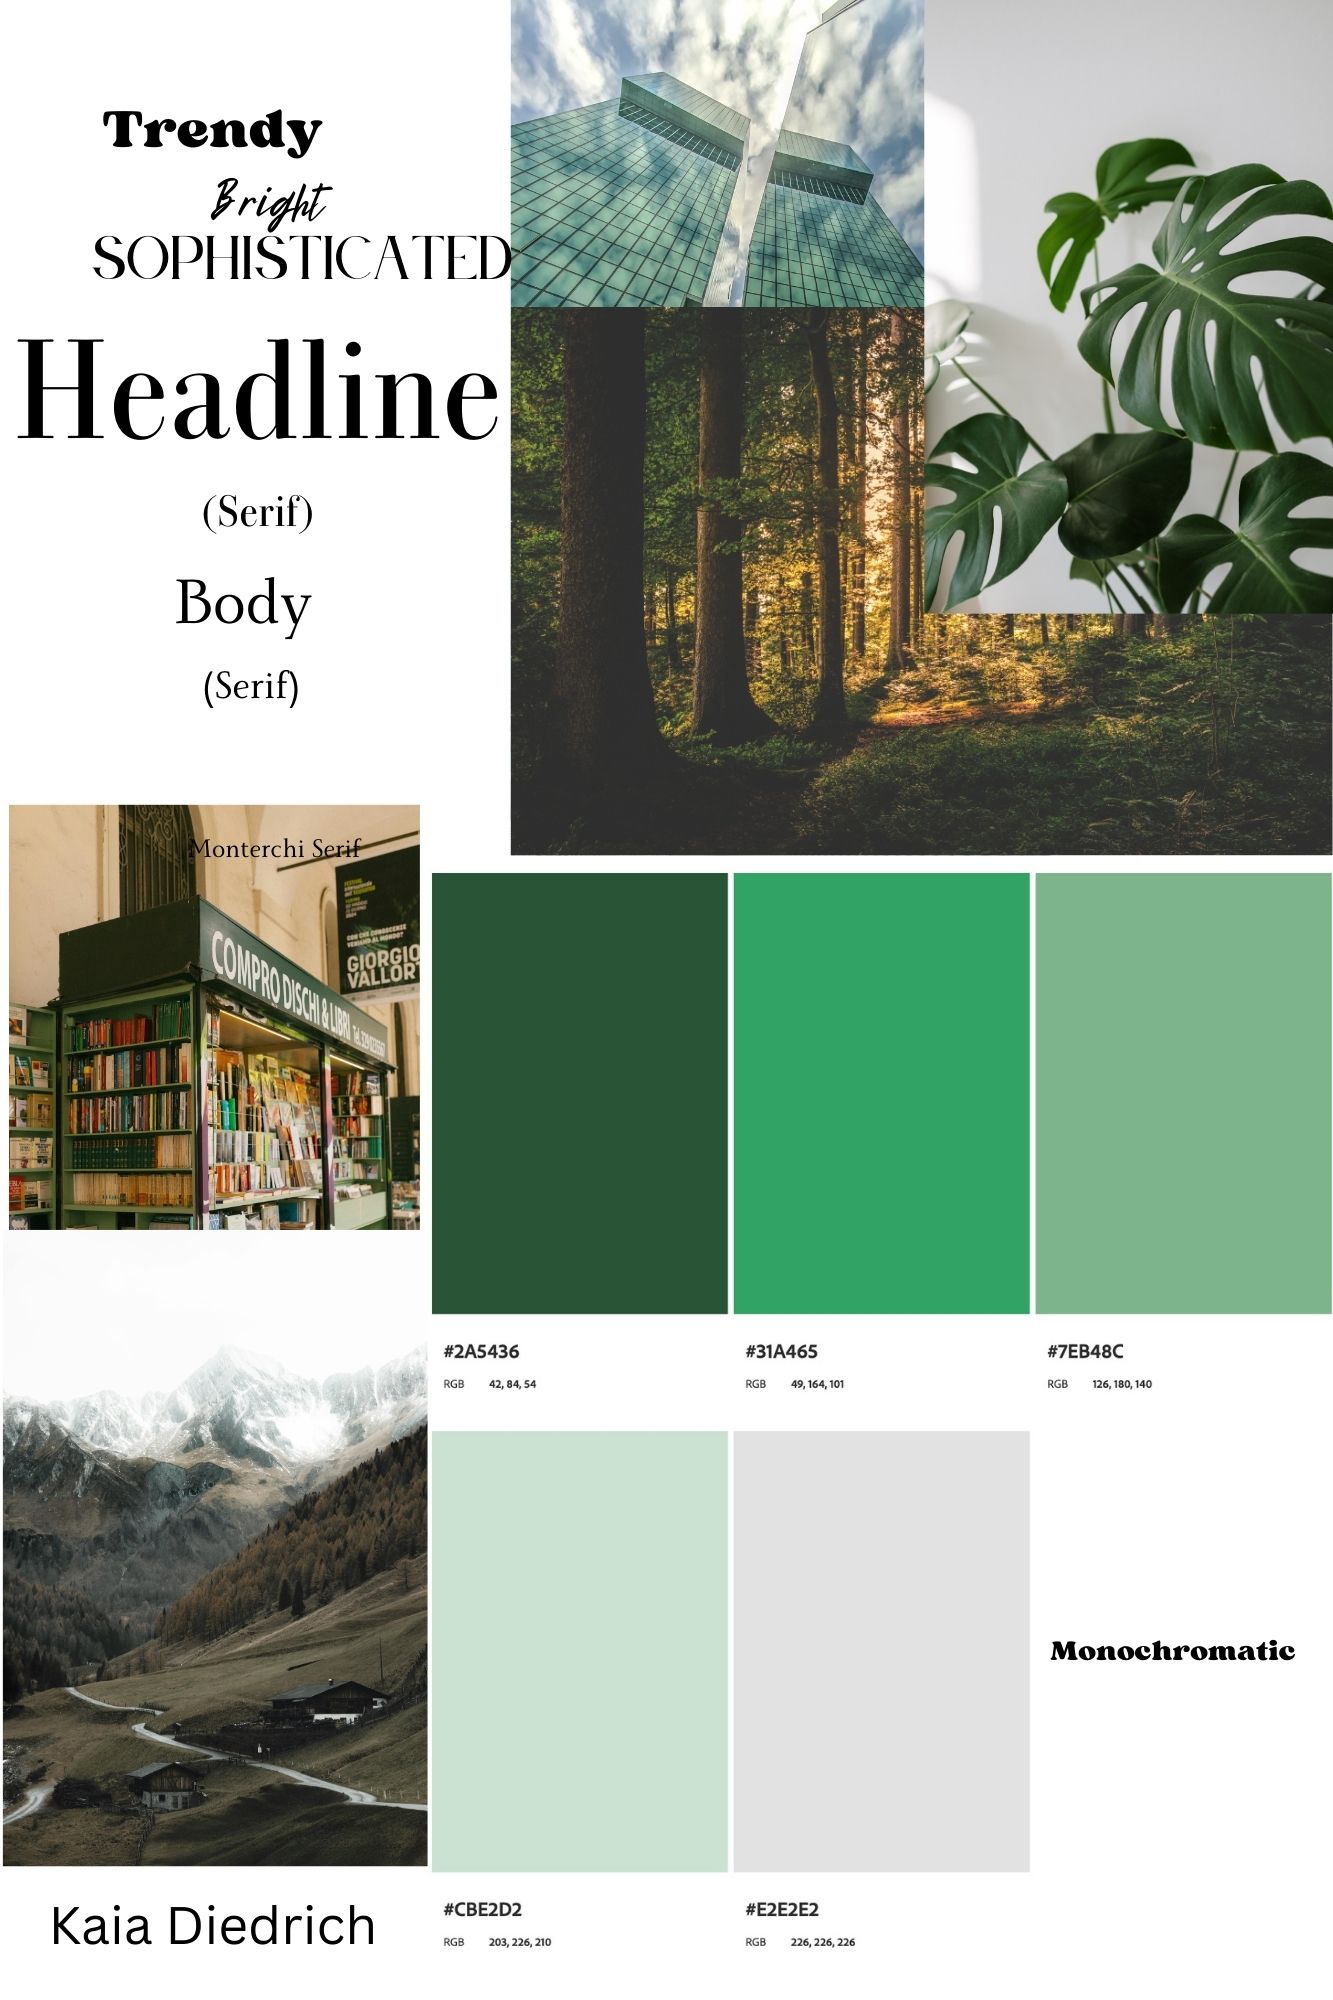
3. Mood Board: Why visuals matter
Most people know what a mood board is, but why use it when designing a website? Think about your favorite brand-what comes to mind? You probably think of a logo, the overall “vibe” of the brand, and color choices. This is where color psychology comes into play. Understanding your target audience allows you to choose colors that align with your brand image and resonate with visitors.
Creating a mood board allows you to easily visualize your website’s color scheme, fonts, possible images, and other design elements all in one place. It’s easy to tweak the combinations to see what works best for your brand identity before finalizing any choices.

4. Wireframe: A rough sketch of your site
Finally, we created a wireframe-a basic, rough sketch of how we wanted our websites to look. This step is crucial because it helps us think about the layout and placement of pieces of our website without getting bogged down in details like text or images. The wireframe is meant to be a simple outline that shows where different elements, such as navigation menus, images, and text blocks, might go. I had a lot of fun creating my wireframes and experimenting with different layout options.
What comes next?-
Now that we’ve covered the essential planning elements, it’s time to actually build the website.This is where the CMS comes into play. For our class, we’re using WordPress, a powerful platform that allows you to create a website without needing to know how to code. When using WordPress, one of the first steps is to choose a theme-a predesigned layout with built-in font, colors, images, and menu options.
One of our assignments was to choose WordPress theme we wanted to use. This would have been an overwhelming decision if we hadn’t gone through the process of creating a mood board, web schematic, wireframe, and website checklist. Since we already had a clear understanding of our site’s vision, all we had to do was sift through the available themes and choose the one that best matched our brand’s image and goals.
Final Thoughts
All in all, I found it quite fun to go through the process of planning out my website and am excited to continue to develop it further. I hope this post helped give you a clearer idea of how to start planning your own website. If you have any questions or want to learn more about my planning process, feel free to reach out to me using the “contact me” portal.
